Oreo Truffle Balls (No Bake)
Reader Beware: Once you bring these Oreo truffle balls around your family, you will be tagged with bringing these for EVERY holiday. Luckily, they are stupid easy to make, and you don’t even need the oven!
Parts of this recipe reminds me of making meatballs, only for dessert. Don’t be afraid to get your hands dirty to mix up the dough and roll it into the little round shaped balls of goodness. Just like mama use to make! Aaay!
Prep Time: 10 Mins
Freezer Time: 40 mins
Dip Time: 15 Mins
Yields: 20 – 25 bites (depending on how large you make them)
Ingredients:
- 1 pkg of cream filled cookie (12 – 16 oz any flavor – up to you! I am using the original Oreos)
- 1 pkg (8 oz.) cream cheese, softened.
- 1 pkg (10 – 12 oz.) white melting chocolate wafers (Not chips! Those take a little more finesse and a double boiler) I have had success with Ghirardelli and Wilton’s
- Your choice of toppings – extra cookie crumbles, sprinkles, crushed nuts, colored melting chocolate to drizzle.
Tools:
- Food Processor
- Mixing Bowl
- 2 cookie sheets or large freezer safe plates
- Microwave safe bowl
- Wax paper
Instructions:
- Place entire cookie (with filling) into a food processor and chop until you have fine crumbs and there are no large pieces left. (Tip: I recommend smaller batched of 5 – 6 cookies at a time.)
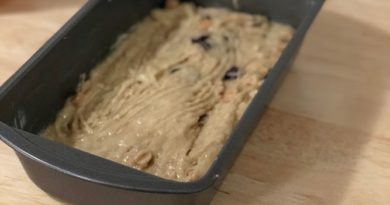
- Add the softened cream cheese into the mixing bowl with the crumbs and combine until the mixture is well incorporated and sticky.
- Roll about a 1 tbsp amount of the mixture into a ball and place on an ungreased baking sheet or other freezer safe plate. Freeze for 30-40 Mins.
- Melt white chocolate wafers in microwave according to package directions. This is usually 30 seconds at a time at ½ power, stirring in between each interval. (Tip: Be sure to mix even if the wafers don’t appear to be melting yet to avoid burning.)
- Cover another baking sheet or large plate with wax paper. Removing the bites two at a time from the freezer, roll them around in the chocolate gently until covered.
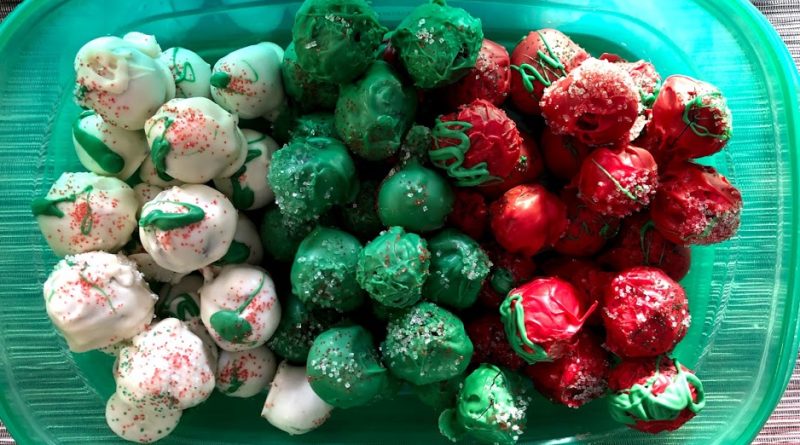
- Using a fork, lift one at a time out of the bowl from the bottom of the bite, trying not to pierce. Place on wax paper and quickly sprinkle with topping as the chocolate will set quickly. (If using another color melting chocolate, wait until you have finished this step).
- If you have covered with a crumble or sprinkle, after they have set (2 – 3 mins) you are done! If you have chosen another color melting chocolate, melt wafers according to package directions. Using a fork or spoon, drizzle the chocolate on the top of the covered bites and let set. Enjoy!

The Story Behind Us Making the Oreo Balls:
Christmas 2016, I was in the mood to bake like no other. I guess I was really feeling the spirit of the season, so I made 5 types of cookies to bring to my cousin’s house that year. Excessive I know, and this was in addition to the other 567 types brought by the rest of the cousins (I am exaggerating but we have a big family, and there were so many!)
Anyway, for my bridal shower a few years earlier, I received all kinds of instruments and gadgets for the kitchen (because my friends and family are generous and awesome) and I decided this was the year I wanted to use all of them. You should have seen the kitchen in our apartment when I was done. One of those fun gifts was the food processer that I hadn’t really used much and wanted to get dirty.
Fast forward again to Christmas night, and no lie, members
of my family kept seeking me out to ask about this recipe. They are delicious and addicting and like many
of my other recipes, customizable. I recently tried this with Nutter Butters
for Thanksgiving – whoa! The debate is still out on which one is better. Why
don’t you try both and tell us what you think!